

Upload, find and review patient images and documents
Attach files to the right patient and use the viewer without confusing gallery images with issued documents.
By ClinBeam · Practical product workflow guidance
Complete the steps below and check each recorded result before moving to the next workflow.
Where to work: Patient workspace → Images / Documents; Imaging · Clinician / Reception
Before you start
- Correct patient, supported file and permission to upload/view it.
- The selected clinic and record are correct.
- The module and required actions are available to your account.
Choose the right destination
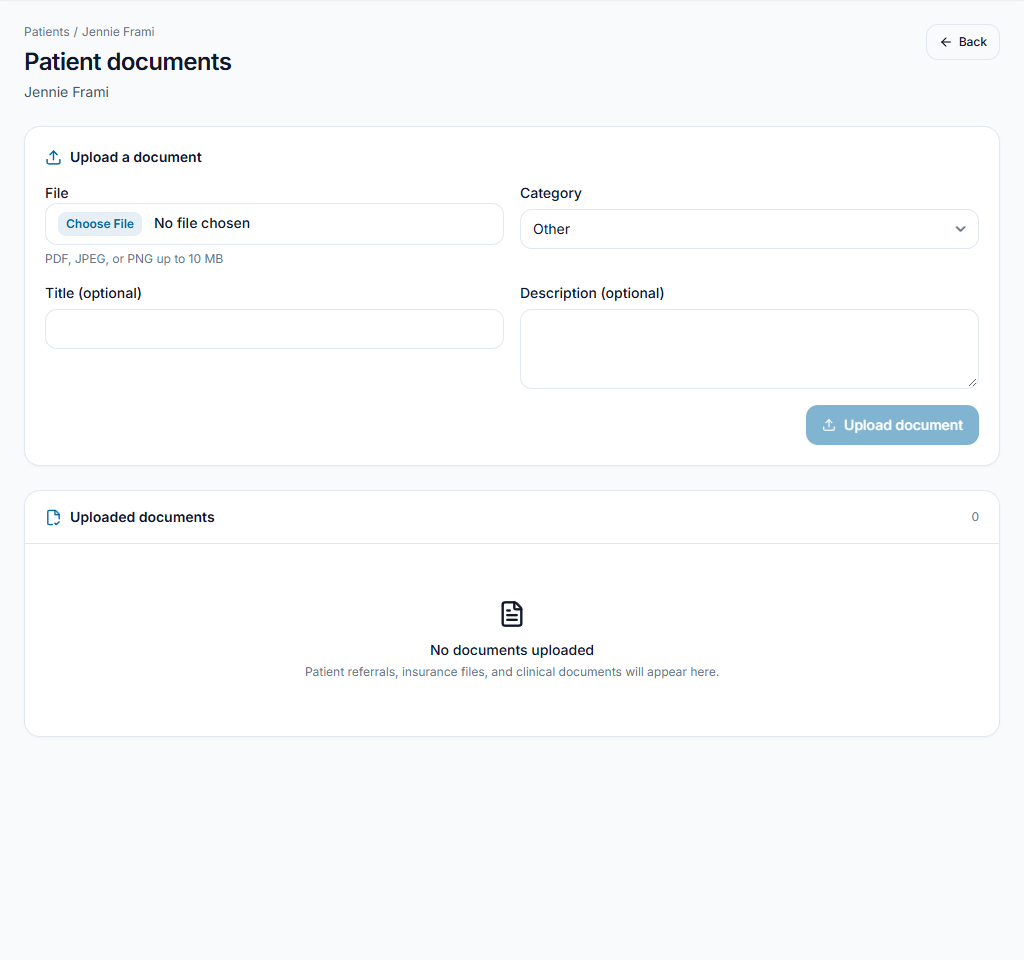
Open the patient workspace. Use Images for gallery evidence/photos and Documents for attachments. Review the patient name before uploading; issued prescriptions and receipts have their own generated-document records.
Check the result The file destination matches its purpose and patient.
Upload and label the file
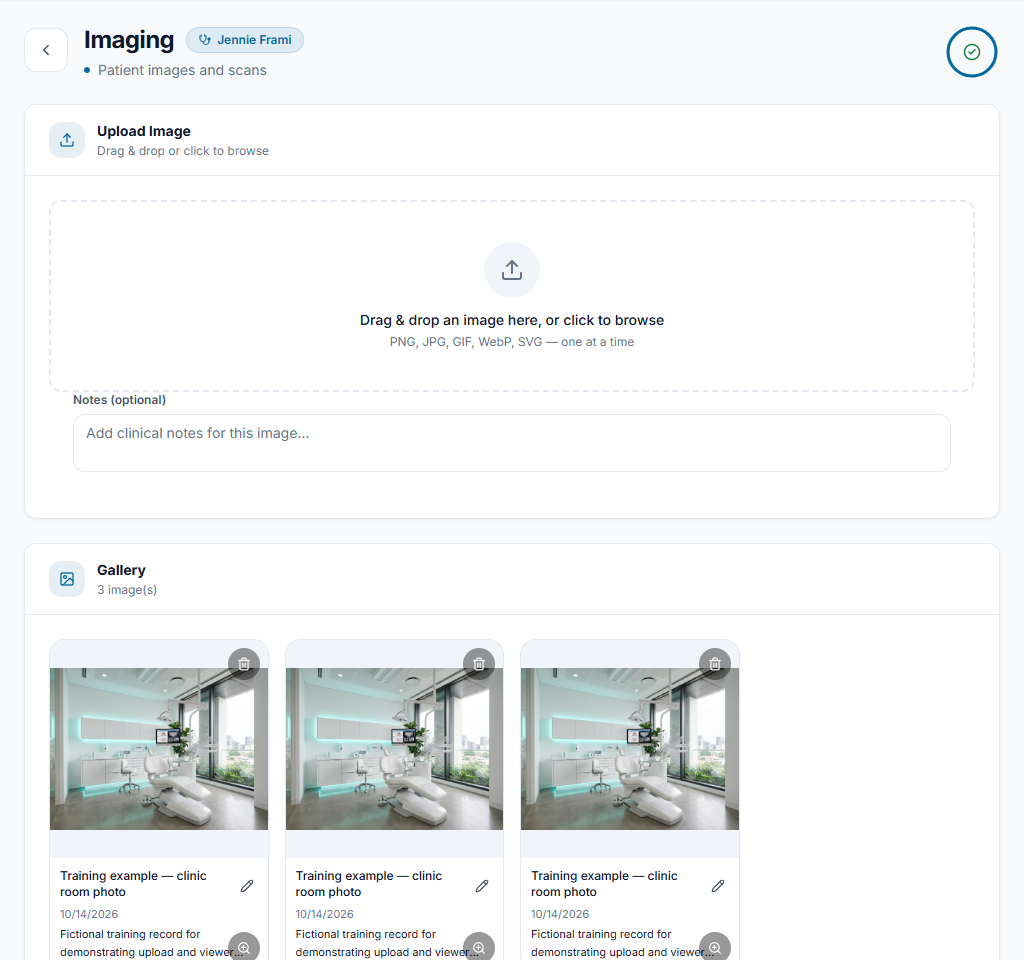
Use the upload form, choose a supported file and add its title/category where shown. Wait for success and verify the new item. Where the image menu permits renaming, give it a meaningful label without altering its clinical meaning.
Check the result The file appears once with a useful title and correct ownership.
Use the viewer and linked evidence
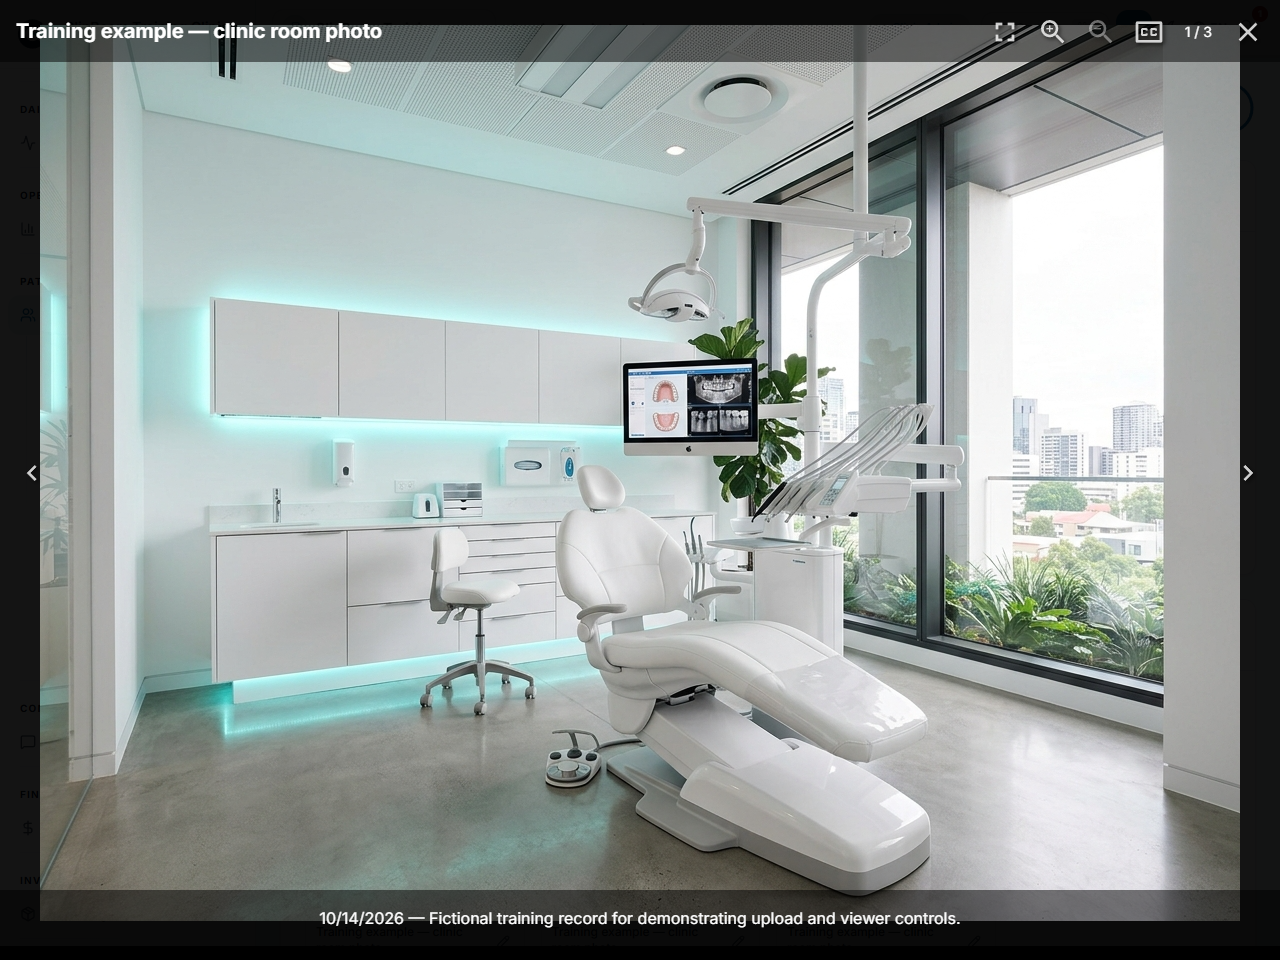
Open the image/document to inspect the actual file. Use the image viewer controls and full-size view when needed. In dental findings, select existing evidence or use the available add-image shortcut, then return to the intended finding.
Check the result The clinician can open the intended evidence; a thumbnail alone is not treated as a full review.
Worked example
Upload a fictional training image once, label it by visit/purpose and select it as evidence on the intended dental finding.
Something not working?
The upload is rejected.
Check the displayed size/type rules and selected file. Do not repeatedly submit after a timeout until you have checked whether an item was already created.
The screen or action is unavailable.
Ask the clinic administrator to check your role, individual permissions, clinic context and enabled modules. Do not use another person’s account.
Team checklist
- The file destination matches its purpose and patient.
- The file appears once with a useful title and correct ownership.
- The clinician can open the intended evidence; a thumbnail alone is not treated as a full review.