

Use the dental chart from finding to procedure
Choose the correct tooth, record findings and track procedures without confusing chart changes with billing.
By ClinBeam · Practical product workflow guidance
Complete the steps below and check each recorded result before moving to the next workflow.
Where to work: Patient workspace → Dental chart · Clinician
Before you start
- Dental module access, correct patient and reviewed dentition/encounter context.
- The selected clinic and record are correct.
- The module and required actions are available to your account.
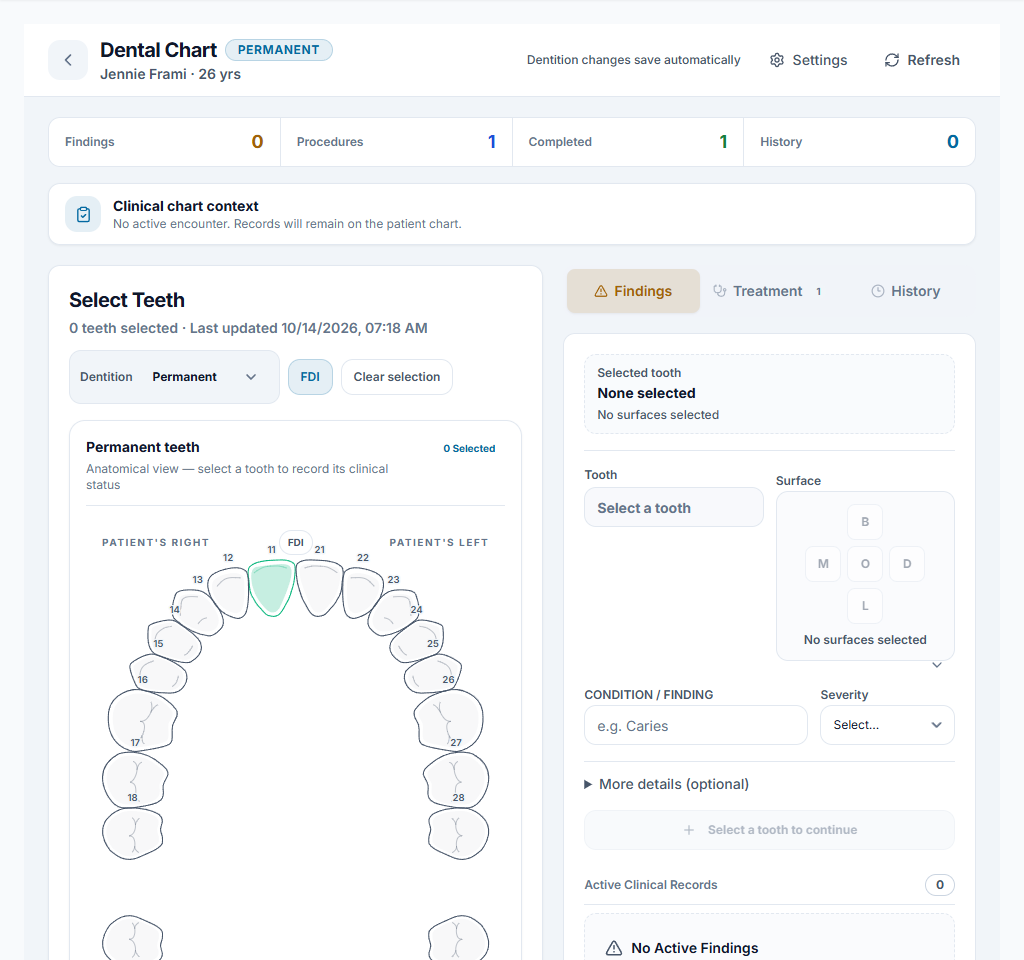
Select the right tooth
Open Dental chart, check permanent/primary dentition and the active encounter context, then select the tooth. Check the displayed tooth identifier before adding clinical information.
Check the result The selected tooth and dentition match the clinician's intended record.
Save findings and procedures
Enter a finding with its surface/status and relevant note, then submit the finding form. Add a procedure using the appropriate service. Dentition changes use their save indicator; finding/procedure drafts still require their own submission.
Check the result The finding/procedure appears in the saved list. A selected tooth or typed draft alone is not saved clinical work.
Track work and billing separately
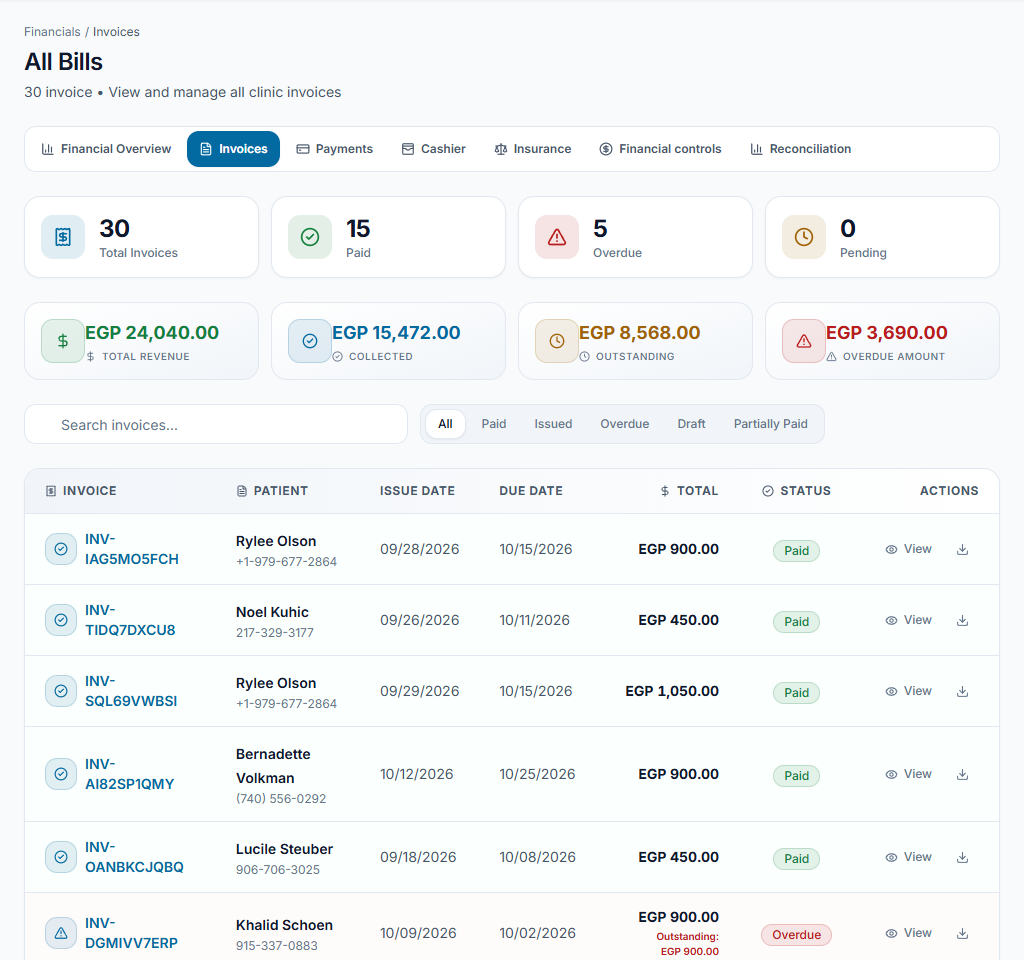
Update procedure status as treatment progresses. Use the available send-to-billing/claim-draft action only when appropriate and verify the resulting invoice/claim entry. A completed procedure is not proof of payment.
Check the result Clinical progress and billable entries can be checked independently without duplicates.
Worked example
Record a finding on tooth 16, then add the intended procedure. Later mark the procedure completed and verify its billing entry; do not recreate it to collect payment.
Something not working?
My new finding is missing.
Check the selected tooth, filters and whether the finding form was submitted successfully. Wait for the relevant save confirmation before leaving.
The screen or action is unavailable.
Ask the clinic administrator to check your role, individual permissions, clinic context and enabled modules. Do not use another person’s account.
Team checklist
- The selected tooth and dentition match the clinician's intended record.
- The finding/procedure appears in the saved list. A selected tooth or typed draft alone is not saved clinical work.
- Clinical progress and billable entries can be checked independently without duplicates.